Family Elmgren's bathroom renovation blog
We asked the Elmgren's if they could write a blog for Gustavsberg to share their experiences and thoughts during their bathroom renovation. It became an almost 30-week long journey, which begun with moisture bubbles on their bathroom wallpaper and ended with a bathroom of their dreams. Read the family's story below.
Do you want more tips and tricks about what you should think of while creating a new bathroom?
Read our recommendations in our checklist.
Week 1 - bubbles in the wallpaper
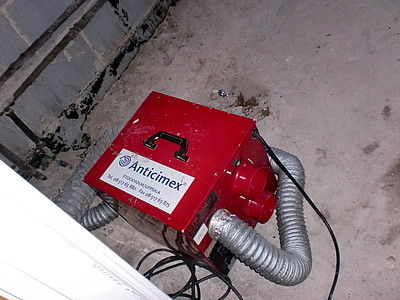
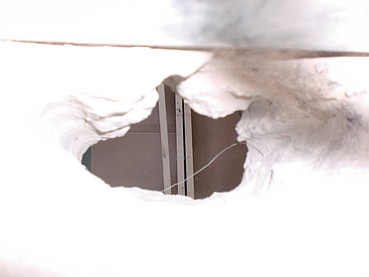
Our renovation project begun about the same time as we discovered bubbles in the wallpaper under our bathroom sink. At first, we suspected a leak in one of the pipes in the wall, and we called our insurance company who told us that we easily could examine the emergence of the bubbles on our own. After a month or two our suspicions about the real reason of the emergence of the bubbles had increased, and we called our insurance company a second time. After the second call, our insurance company immediately send Anticimex to investigate if it was a moisture damage or not.
With help from Anticimex we got to know that the moisture damage originated from a unknown leak in the bathroom (which is from 1964), and the measured moisture levels informed us that we have to tear out the whole bathroom which consists of two adjacent bathrooms and a small amount of parquet. Two months of dehumidifications awaits...
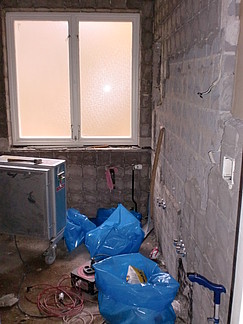
Week 2 - the tearing of the old bathroom has begun
The tearing of the old bathroom has begun. A huge amount of the old bathroom interior is removed. In one way, it feels very tough to know that we have to live in this mess during two months and we are extremely thankful to have a toilet and a shower in the basement. Although, two months time give us the opportunity to really think and plan how we want the new bathroom to look like.
Week 3 - out with the old
Each step in the right directions feels great. Today all the old interior is going to be removed.
Week 4 - our 60s décor finds new owners
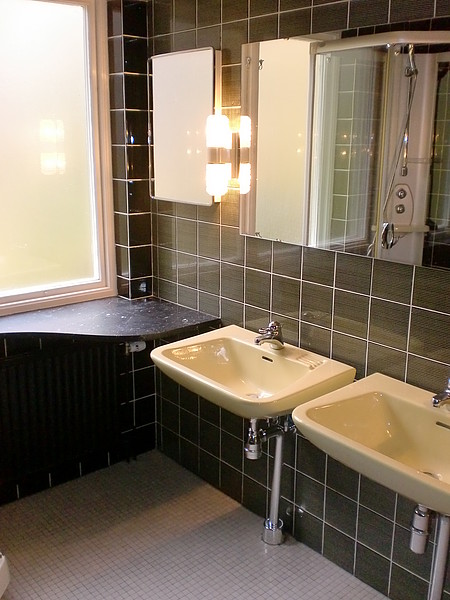
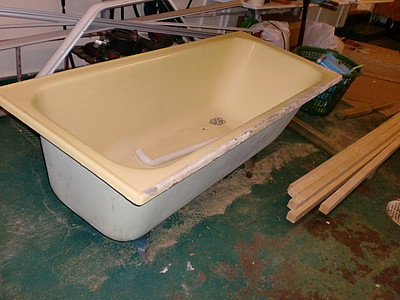
The workers tipped us off that there are buyers interested in well-preserved bathroom furnishing from the 1960s. Sweet! We have managed to sell the washbasin, toilet, towel hooks and toilet paper holders - all in matching mint green from 1964 - on the Blocket site.
The buyer had just bought a villa from the 1960s and was delighted to find original fittings to match. It's good to know that someone will make use of it! The yellow bathtub was the only thing that no-one wanted...
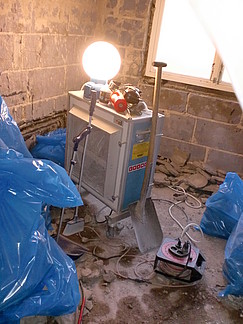
Week 5 - waiting for it to dry
The dehumidifiers are now in place. We were warned that they would make a lot of noise, but we don't really notice them. Now we just have to wait for everything to dry out!
Week 6 - reflections on the floor plan
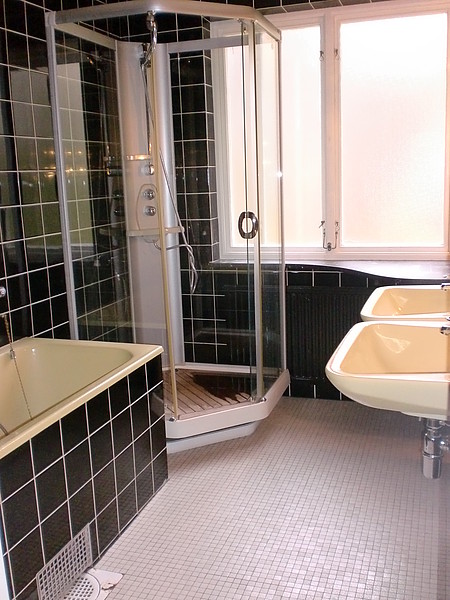
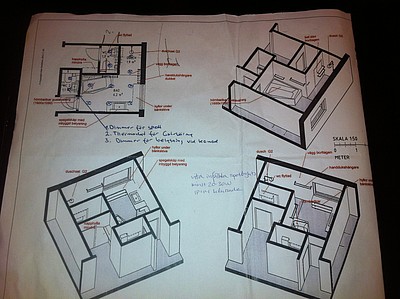
We're still thinking about the design of our new bathroom. It's hard to come up with the best way of using the tricky, limited space we have. We want a decent-sized corner bathtub, to keep two separate toilets, have a good shower area, reassure that there is plenty of storage space and so on. Should we change the floor layout or keep it as it is? What's the best way to go?
Linus knows someone who works as an architect and who has recommended a former colleague who may be able to help us ... After a couple of meetings with the architect - who has all kinds of good ideas and is skilled at using a drawing program which will make the process a lot easier - we decided to change the layout. We'll reduce the size of the hall and move one of the toilets into the space this creates. We can then set up a shower niche in the space where the toilet used to be.
Week 7 - time to choose
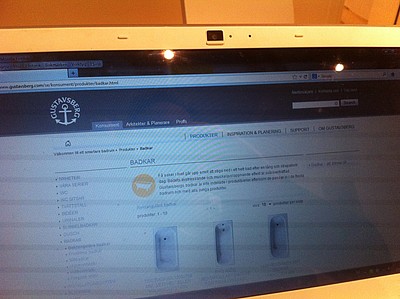
Now that we have decided on the floor plan, we've started to think about the bathroom furnishing.
We checked out a number of producers on the Internet and finally decided to go with Gustavsberg, which has a broad range including a lot of things that we think are really neat. We're also positively surprised by the environmental consideration behind many of the products. It's also great to be able to buy almost everything from the same place. The only thing we haven't found is a storage solution based around the washbasin that matches the dimensions of the new bathroom, so we've decided to design it ourselves and built it in place.
We've also chosen the tiles and ordered everything.
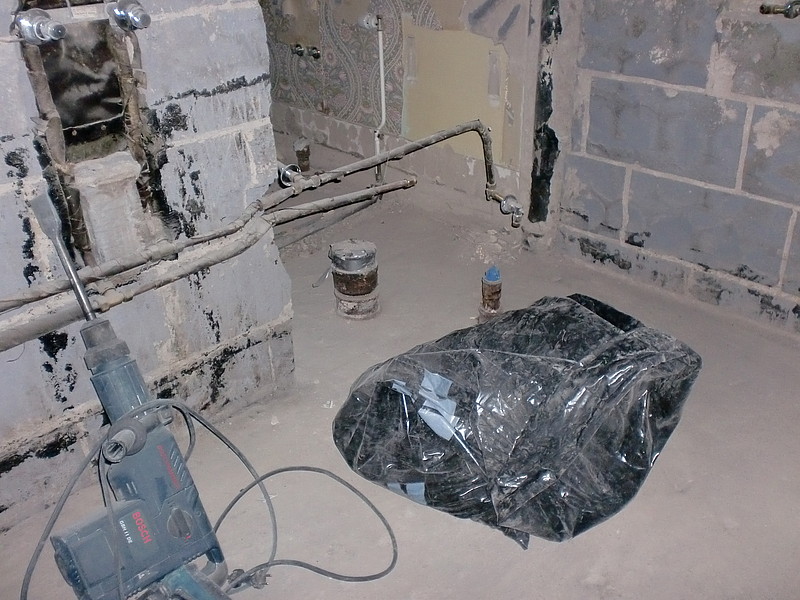
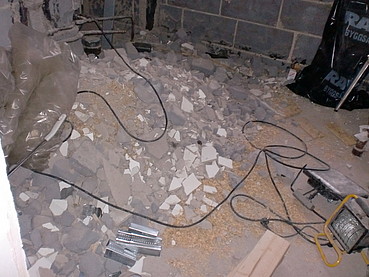
Week 8 - dusty
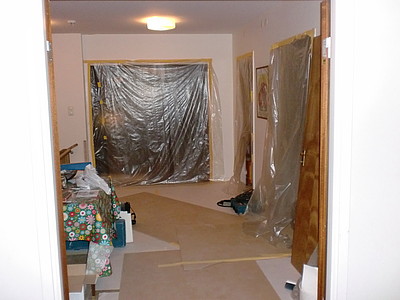
Finally dry!
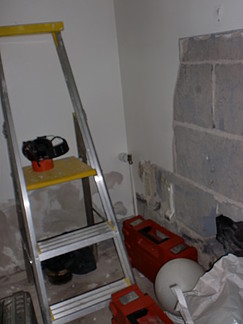
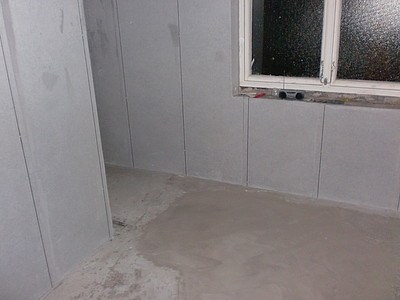
It's now time to move onto the next step: demolishing and rebuilding the walls we've decided to move. Despite all the plastic and shielding of the construction area it creates a lot of dust...
Week 9 - one wall down
The opening has been made in the wall for the new shower. We're starting to see how it may all look...
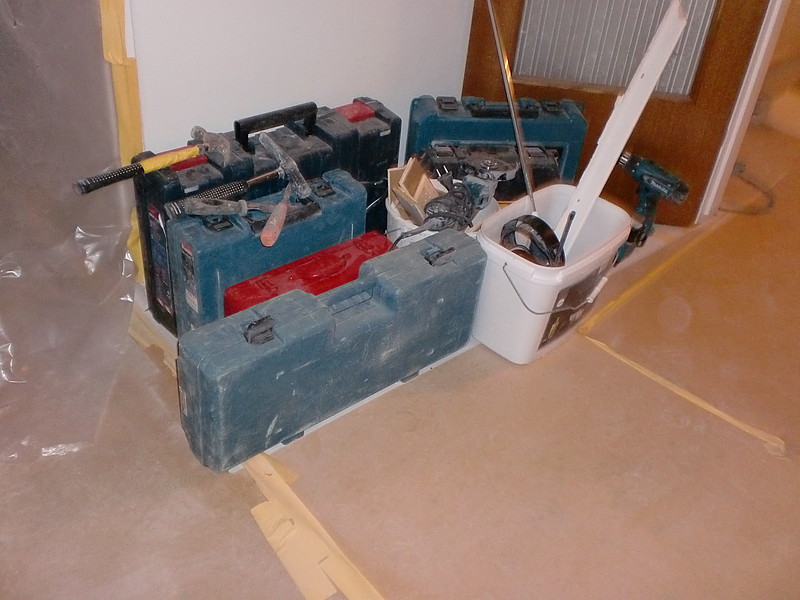
Week 10 - tough to live in a construction site
Even though the workers clean up after themselves before they leave, it's tough - to put it mildly - to live on a building site...
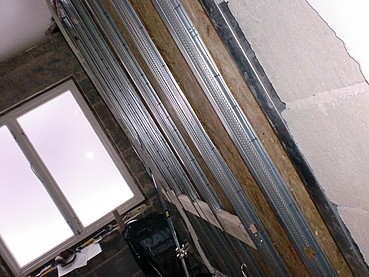
Week 11 - tearing down and rebuilding
It turns out that all the intermediate walls are made of light concrete which means that they're too weak. As a result, we have to knock down every wall (five in all) one after the other, and then build them up again using wood, aluminium profiles, fibreboard and plasterboard.
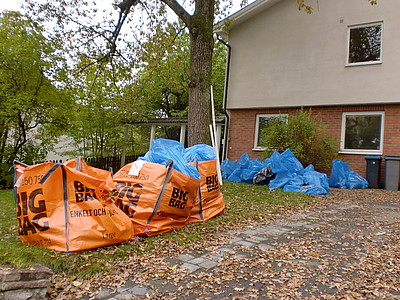
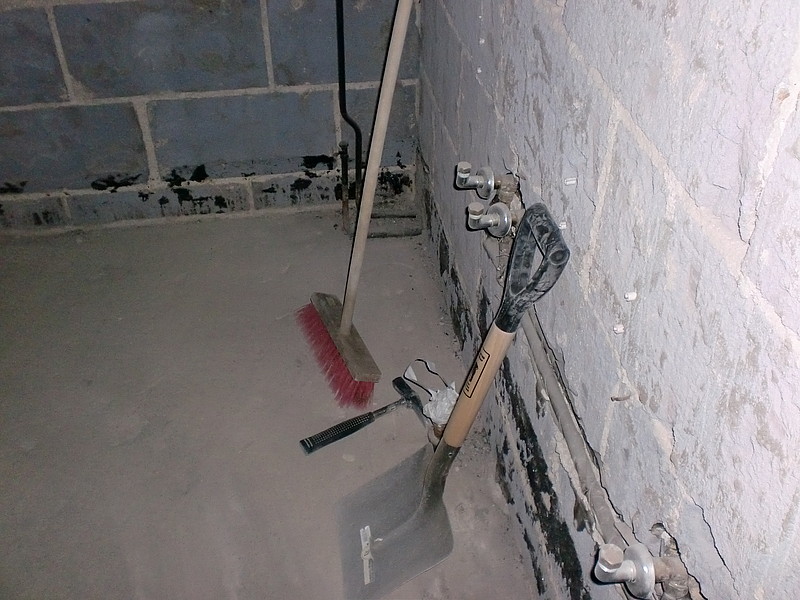
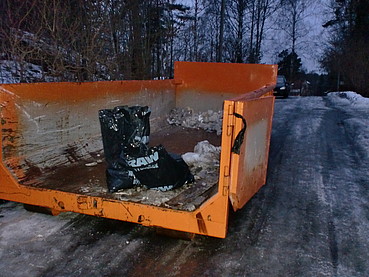
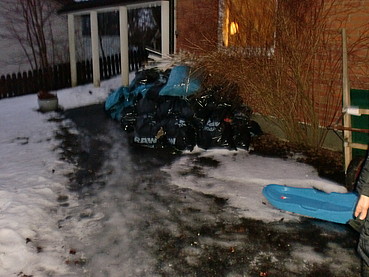
Week 12 - get rid of the trash
We're finally done with the construction chaos...
Week 13 - progress is beginning to show
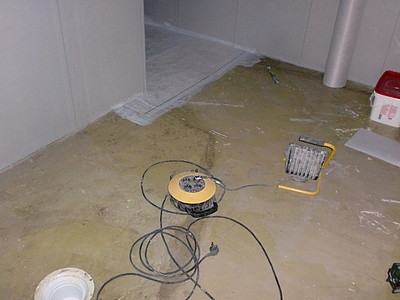
We are now starting to see more and more tangible progress. The electrical cables are in place, and holes have been made for the new piping.
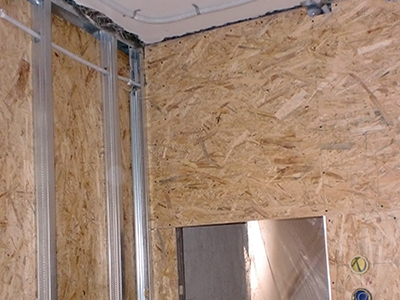
Week 14 - new walls
New walls in place!
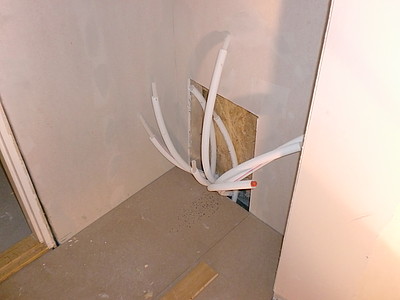
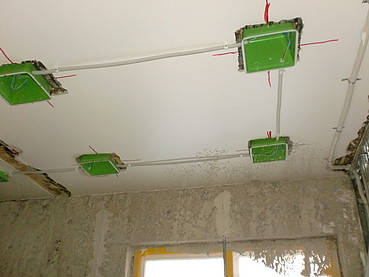
Week 15 - modern piping
All pipes come together in one place. A little different from how they built in the 60s!
Week 16 - the complete bathroom approaches
Every thing that brings us closer to a complete bathroom feels like a small success.
Week 17 - let the tiling begin
At last you begin to see the outlines of a finished room. It's nice that everything is not dirty anymore.
Week 18 - all these building codes are frustrating
It's quite fascinating how many steps you must go through to meet the building regulations.
This is a kind of water proof seal on top of the levelling compound, which will then be painted with primer. All these steps makes the process slow... It's frustrating at times...
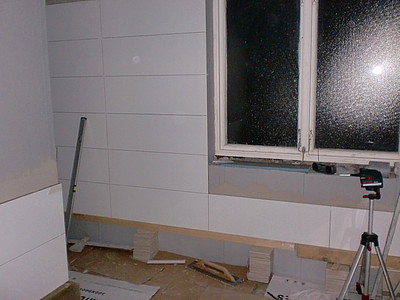
Week 19 - the tiles are in place!
Now we see the light at the end of the tunnel!
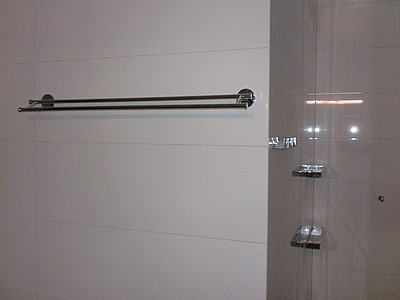
Week 20 - the shower is looking good
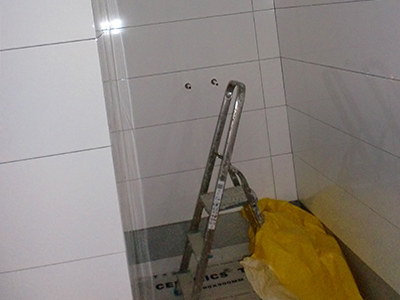
The larger the tile, the longer the tiling will take. But after a few days, the bathroom is almost completely tiled.
One more day, all grouting is done as well.
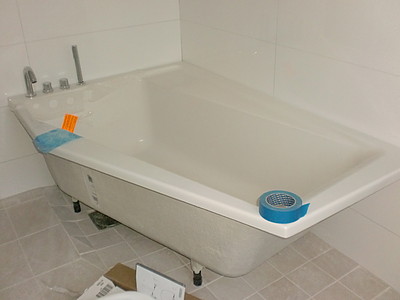
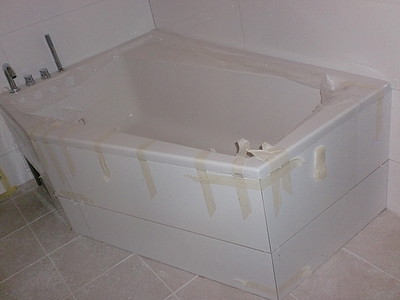
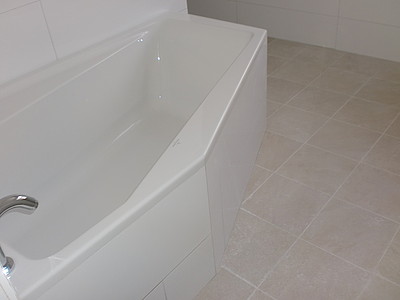
Week 21 - the bathtub
The bathtub is finally in place, hopefully the tiling will be fast!
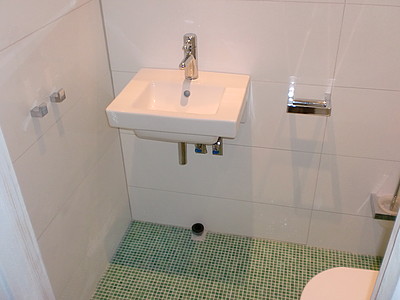
Week 22 - a pleasant surprise
When we planned the bathroom, we thought the relatively large bathtub would mean that we wouldn't be able to fit in two washbasins. We decided on a compromise solution, only one washbasin, in order to make room for the large tub.
Now that the tub is in place, however, we got a happy surprise: it's perfectly possible to fit double washbasins on the remaining surface. It's a pity we have to start over with the site-built cabinets, but it's worth it in order to get what we wanted from the beginning. We wish we had initially measured the distances and sizes of the walls and floors, e.g. with plywood boards or masking tape, to get a more realistic picture of the end result than what a drawing can provide.
Week 23 - not far to go
A lot is happening fast now; we are finishing something new every day.
Week 24 - be careful with the details
It looks very nice, now we're waiting for the water to be connected... You really have to be careful when planning the details, such as how the toilet roll holders should be placed. In the drawing it was a little rashly placed on the opposite wall, which would've been uncomfortable when visiting the toilet.
It's better to think twice time before you start drilling into the tile...
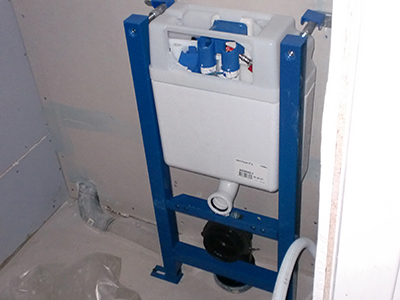
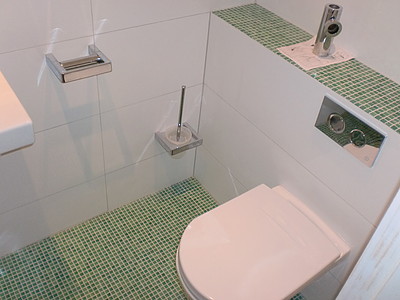
Week 25 - not much left
The small toilet room is also almost ready, only waiting for the plumber to get everything up and running...
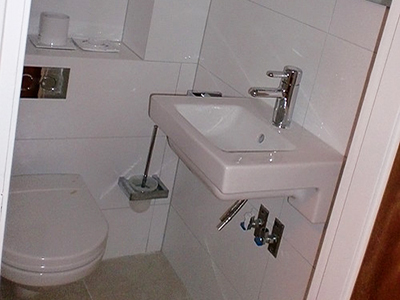
Week 26 - waiting for the plumber
The small toilet room is also almost ready, only waiting for the plumber to get everything up and running...
Week 27 - plan for easier installation
How nice it turned out! Almost time for the premiere!
We decided to do the settings in the bathtub and washbasin-mixer now, so the pressure and temperature is to our needs. It's much easier to do it before the tub has been tiled in.
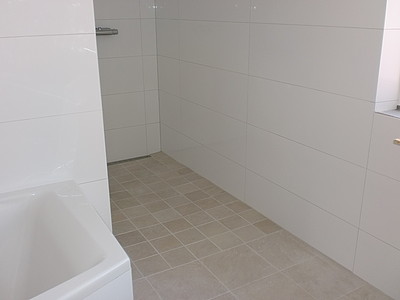
Week 28 - new realizations
We're satisfied with the tiles we have chosen. They are comfortable to walk on, too. It feels like this long project soon will be a thing of the past..
One thing we just realized is that even though it's lovely with a large open shower space, it might be nice to have a wall between the shower and the rest of the bathroom, especially when there are several members of the family on the go at the same time. That will be one more thing to fix at the end of the project.